Ginee
Ginee
 20-6-2022

Before you make Shopify store live, you should know that Shopify is an e-commerce platform that is considered the easiest way to set up an online store. What is little known is that the giant began as an online store well known for selling snotestwboarding gear.
But now, it is one of the hottest companies on the stock market and serves over 600,00 businesses from 175 different countries. Well over 1 billion orders have been processed through Shopify so far, and total sales for merchants have reached more than $55 billion.
Store of any user that signs up with Shopify will have a 14-day free trial to try out all the features like shop design, themes, apps, inventory management, payment processing and other important aspects. After the trial, you get three pricing plans to subscribe at $29, $79 or $299 per month based on what you need.
If you are just starting out, then the Basic Shopify plan at $29 per month is more than enough for any online business and don’t forget you will get 24/7 customer service via live chat, phone and email if there are any problems that arise.
Your Selling Stock is Messing Up? You Need Help!
Ginee Omnichannel allow you to automatically sync every stock from all of your online stores. It’s faster way to helps you profit!
Steps to Make Shopify Store Live
How to open Shopify store to public? So, you’ve spent hours perfecting every part of your Shopify store and imported all your products. Now, it’s time to make your new Shopify store live. But how?
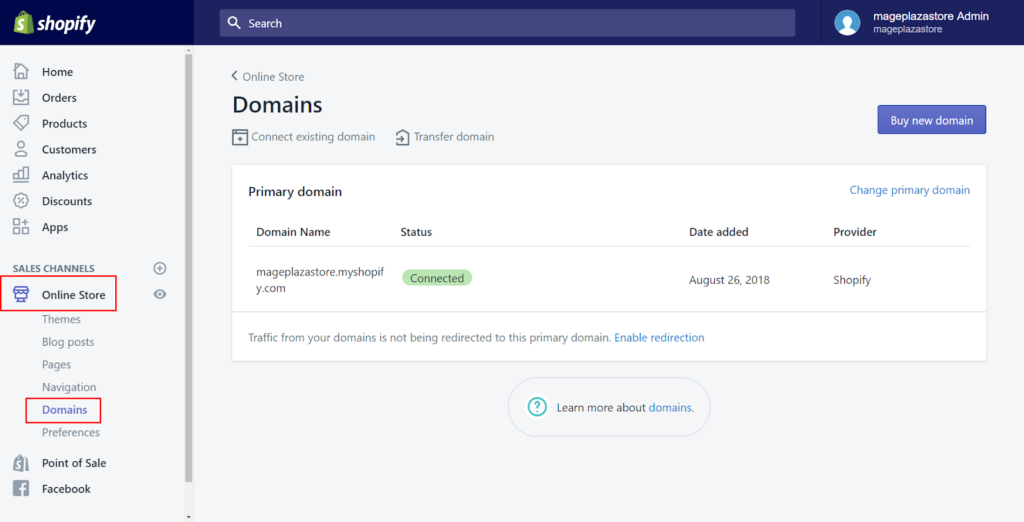
Add Your New Domain in Shopify

How to activate Shopify store? First things first, you need to add your new domain into Shopify. To do this, log in to Shopify Admin. Then go to Sales Channels – Domains – Connect Existing Domains. Then copy and paste in the domain you want to connect.
Update DNS Records
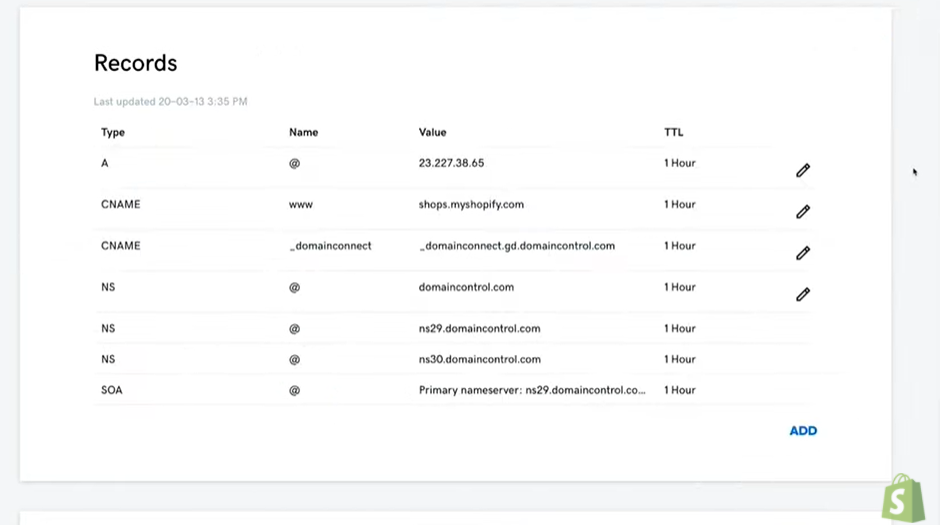
You need to do Shopify login into your domain registrar e.g. GoDaddy, Namecheap etc, and make the following changes to the DNS records: Replace the @ or main A record with this IP address: 23.227.38.32
Also, you need to replace the www CNAME with storename.myshopify.com (i.e. your store Shopify link without including the HTTP – you can find this on the Domains Settings page.
Remove All Storefront Passwords

How to remove storefront password Shopify? It’s imperative that you remove all storefront passwords, otherwise no one will be able to access your store when it’s live.
To do this, log in to your Shopify Admin, go to Sales Channels – Preferences – Password Protection – untick Enable Password.
Set s a Primary Domain if Relevant
You can choose what you want your primary domain to be. To do this, go into Sales Channels – Domains, and set your domain.
Also, be sure to check the ‘Redirect all traffic to this domain’. This means that traffic to all other domains is redirected to your primary domain, which is essential for good SEO.
Adding Other Domains
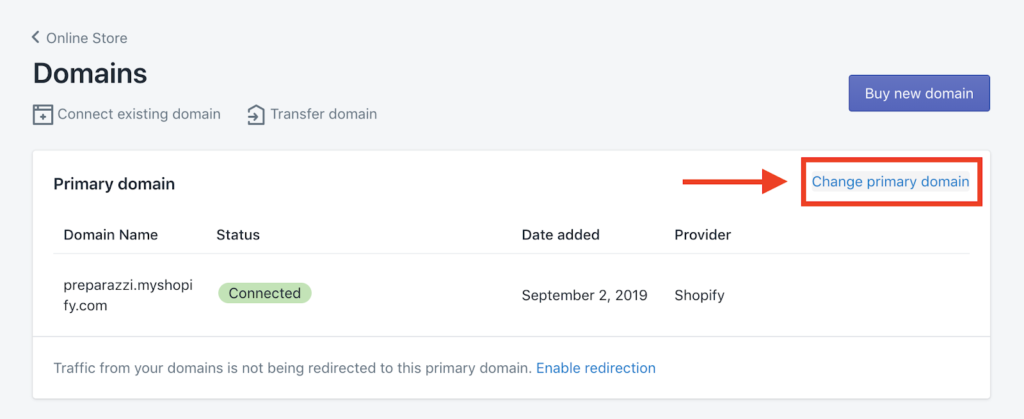
Using your other domain names, repeat steps 1 and 2. All other domain names will be redirected to the ‘Primary Domain’, which you can change at any time by going to the ‘Set as Primary’ option next to each domain name.
What Do I Need to Check Before Launching My Shopify Store?
Launching your online store on Shopify is an exciting endeavour for ecommerce entrepreneurs for Shopify launch checklist.
In this guide, that will introduce you to all the necessary steps involved in making your store live and shoppable to publish Shopify, test Shopify website, quickly and efficiently. Let’s begin.
Read also: How to Do a Test Order on Shopify Complete Step by Step
Do You Want to Manage Multiple Marketplace Just by Single Person?
Of course you can! You can handle multiple stores from all marketplace just by single dashboard. Cut your Business’s cost, and Boost your Efficiency at the same time.
Sign up with Shopify
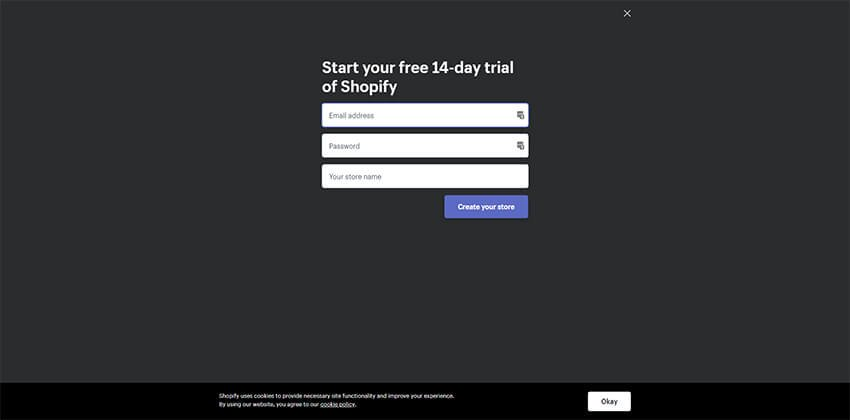
Shopify offers a 14 day free trial which gives you time to set up, organise and install a theme to your store before launching it.
Upload Your Products
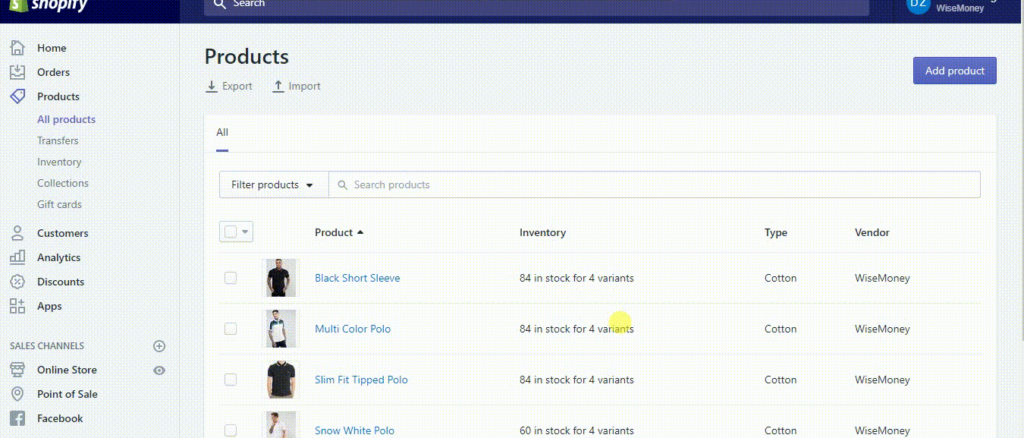
You can add or update information about a product such as its price, variants, and availability from the Products page in your Shopify admin. Products can be uploaded one by one or in bulk via a CSV file.
- From your Shopify admin, go to Products > All products.
- From the Products page, click Add product.
- Enter a title for your product, along with additional details including prices, descriptions, SKUs, product images, etc.
- Click Save.
Choose a Shopify Theme
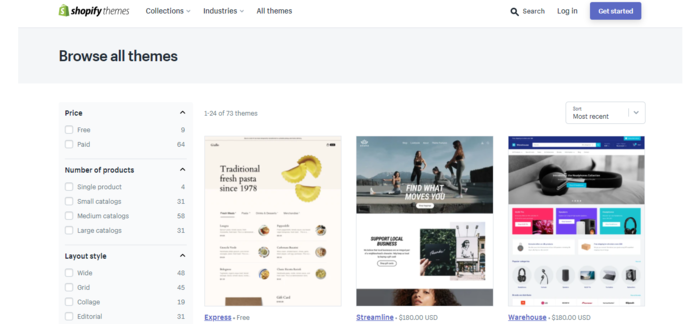
Choosing a theme is one of the most important decisions when launching your online store. The theme is the blueprint for your design and layout, presenting your brand and products to your customers.
How do you choose a theme? The Shopify theme store features an arsenal of 100+ themes, ranging from $0 to $320; there are themes that are simple and classic to complex and image-heavy. We recommend reading our guide on choosing a shopify theme here. Our favourite themes include Impulse, Pipeline and Expense.
Read also: Easy Steps on Switching Themes in Shopify, No Coding!
Choose a Plan
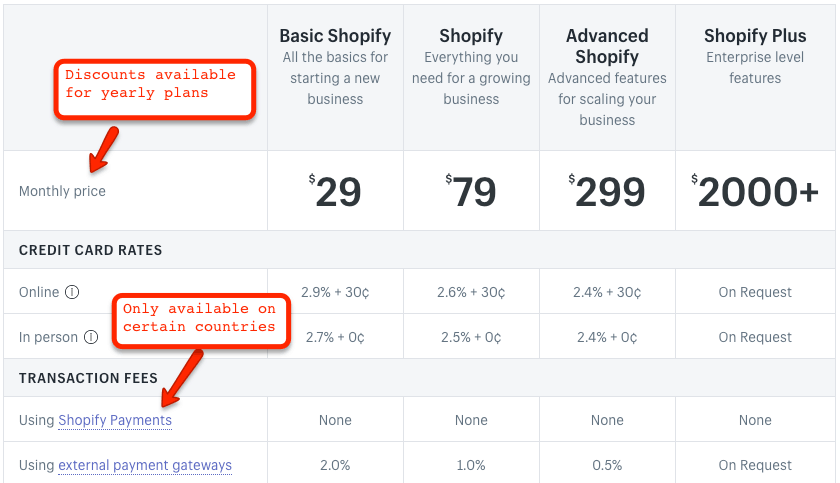
The opportunity to pick from a range of plans is one of the advantages of Shopify for most small-business owners. With so many Shopify plans to select from, you’re bound to find one that fits your budget and requirements.
As strong as the Shopify ecosystem is, it’s also simple to get started, so there’s a solution for businesses of all sizes and selling requirements.
Remove Your Storefront Password
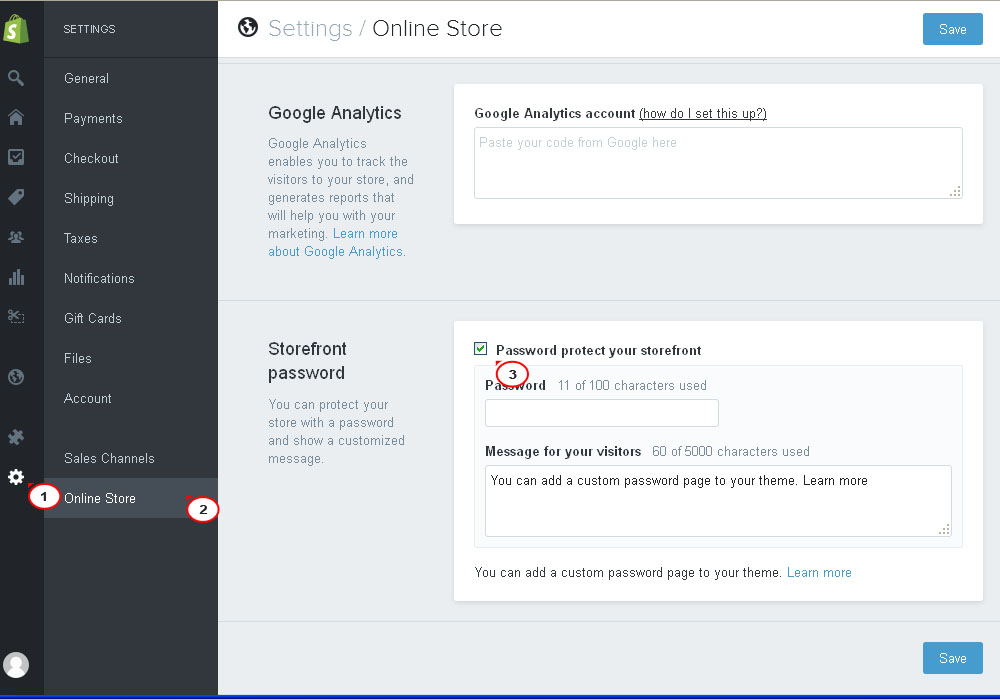
In Shopify, go to Sales Channels > Preferences > Password protection > and untick enable password. Otherwise, no one will be able to access your site even once it’s live.
Choose Your Payment Provider
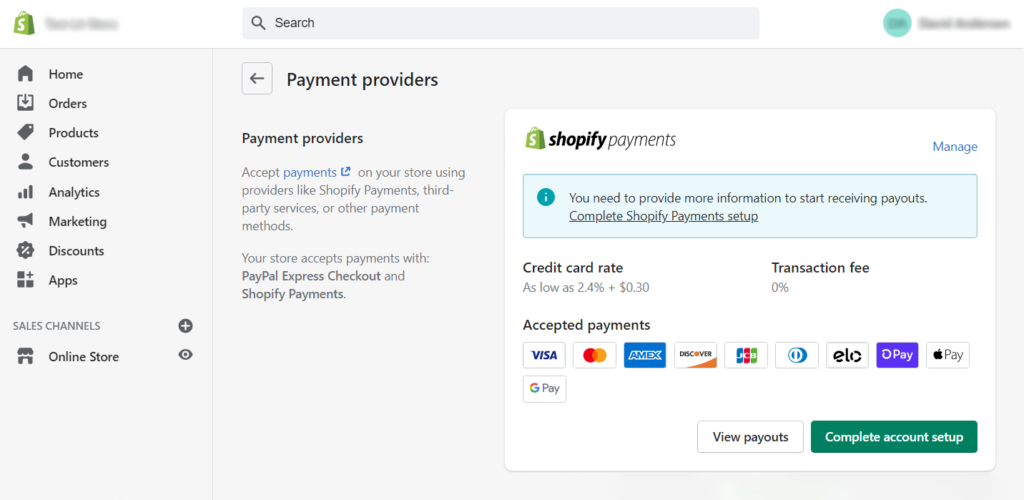
In terms of payments, Shopify offers its own payment provider, Shopify Payments. Shopify Payments is only available to merchants based in the US. Shopify payments offers a simple to use payment option, and can integrate with Shop Pay, which is an accelerated checkout option that many customers have become accustomed to.
Many Shopify store owners often also use PayPal and Stripe, Amazon Pay, and Facebook Pay. Many other global and local payment processors are available.
Actions: Login to your Shopify Store and navigate to the left-hand menu in Shopify Admin. Click on the ‘Settings’ icon in the bottom left corner, and on the next page, click on ‘Payment Provider’. Now you’ll be able to select multiple payment providers to enable you to start selling with Shopify.
Conclusion
By focusing on only one product, you can emphasise all the details that make it special. Without distractions from many different products like general stores, you can increase your marketing content, customer service, product quality and make you an expert in the market that you pursue.
Besides makin store live, if you wonder how to make Shopify sore not live is that you an delete account temporarily or permanently.
Join Ginee Philippines!
After your Shopify store is live, you need to set everything up, including managing products, stocks, orders, promotions, accounting reports, and more. Wondering how to manage your online store like that easily? Ginee Philippines can definitely help! With Ginee, you can manage your online store in only a single dashboard. Join Ginee Philippines now free!
Upload Products to Shopee and Lazada Automatically! How?
Ginee product management allow you upload products to all of your online stores from all marketplace just once! Save time, save cost, save energy, join Ginee Now!