Ginee
Ginee
 24-11-2021
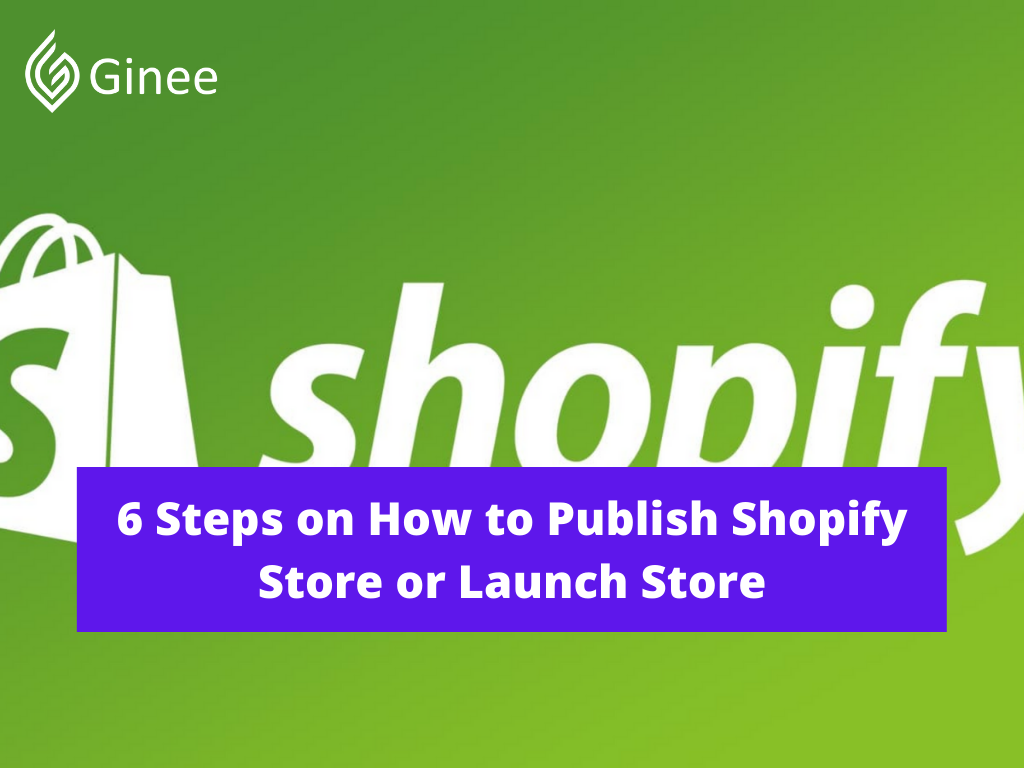
How to publish Shopify store is the same as launching a store. That meant you would have to prepare a large budget to lease space, buy inventory, build storage and work long hours behind a cash register. All of that hard work, and you couldn’t be sure if your product might or might not sell.
You may be interested in: Shopify Philippines: Set Up E-Commerce Website In No Time!
What Is Shopify?
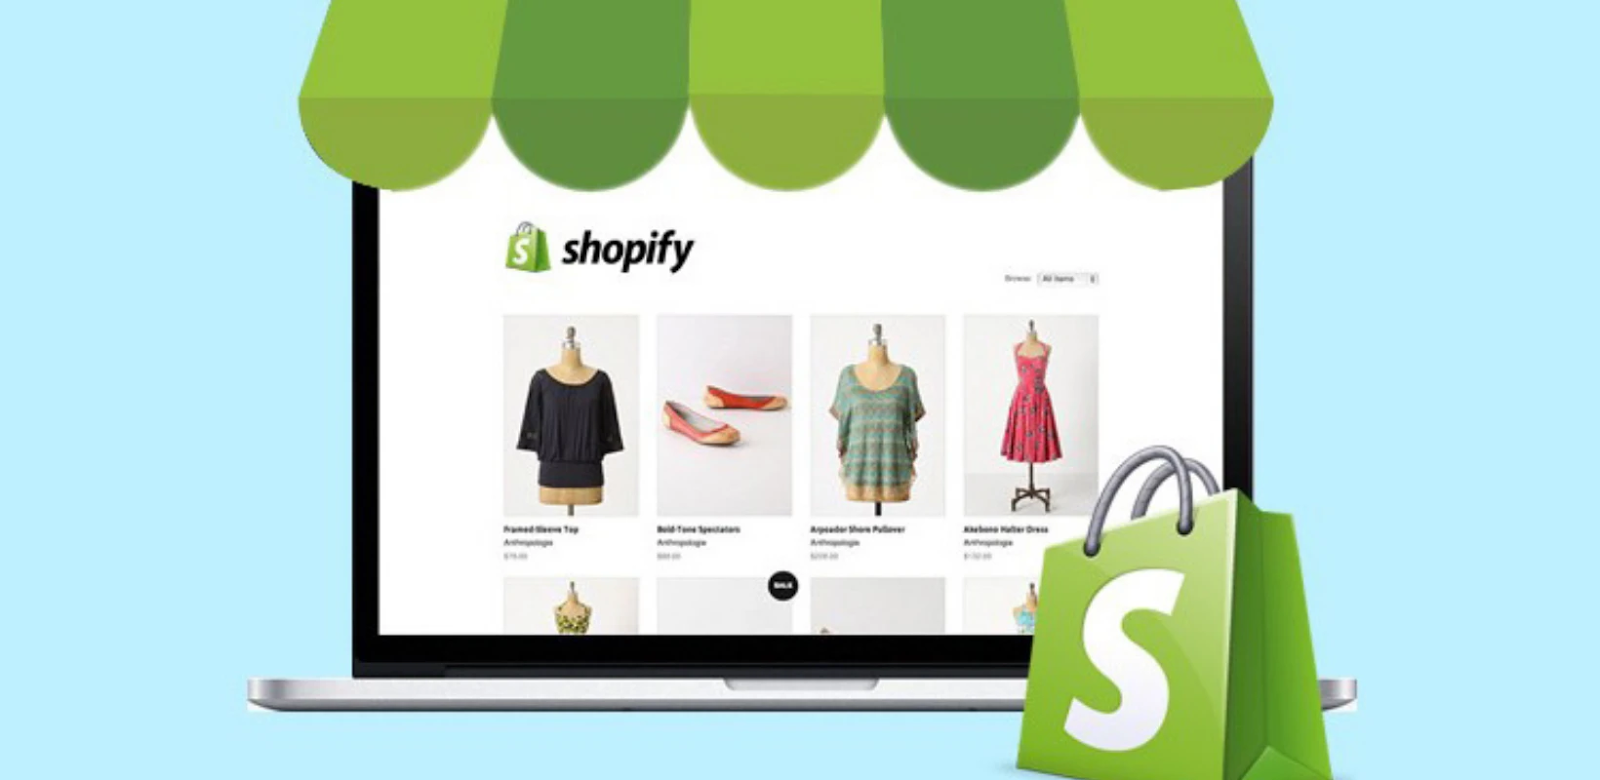
How to open Shopify store to public? Before that you should know that Shopify is an eCommerce platform that is considered the easiest way to set up an online store. What is little known is that the giant began as an online store well known for selling snowboarding gear.
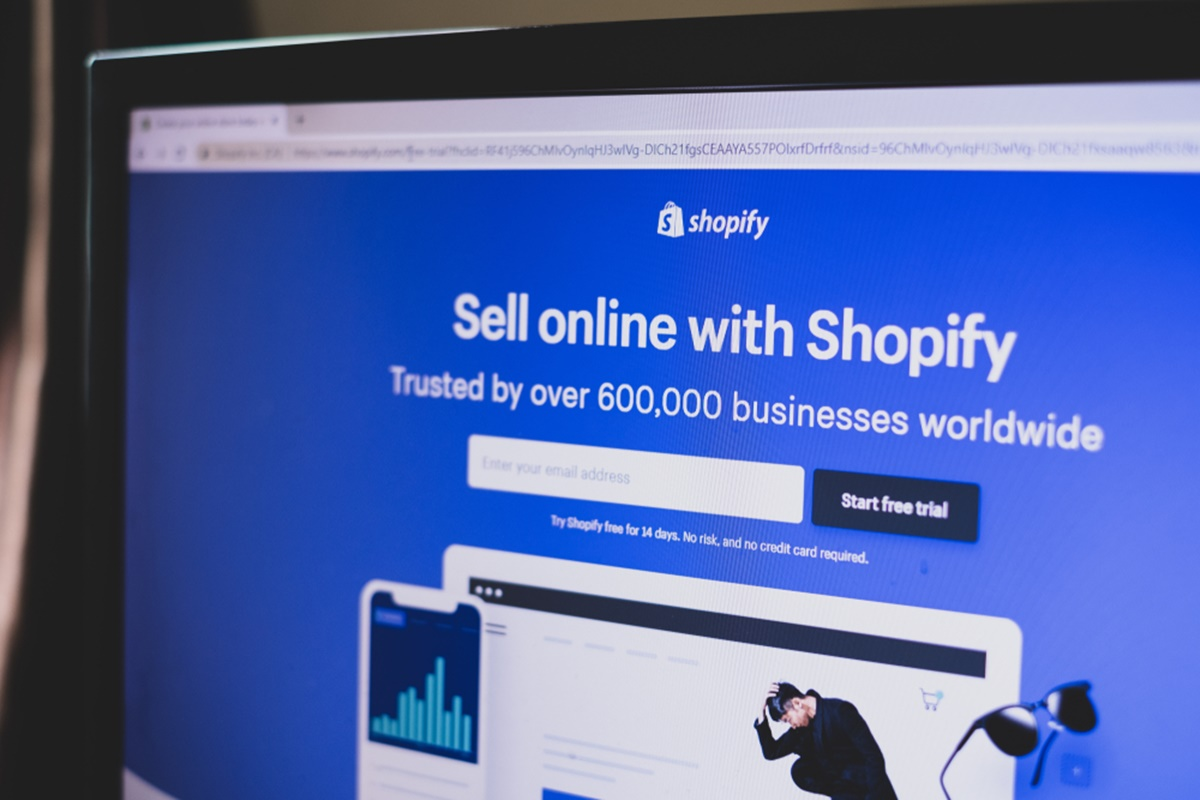
But now, it is one of the hottest companies on the stock market and serves over 600,00 businesses from 175 different countries. Well over 1 billion orders have been processed through Shopify so far, and total sales for merchants have reached more than $55 billion.
How do i launch my Shopify? Store of any user that signs up with Shopify will have a 14-day free trial to try out all the features like shop design, themes, apps, inventory management, payment processing and other important aspects. After the trial, you get three pricing plans to subscribe at $29, $79 or $299 per month based on what you need.
Do You Want to Manage Multiple Marketplace Just by Single Person?
Of course you can! You can handle multiple stores from all marketplace just by single dashboard. Cut your Business’s cost, and Boost your Efficiency at the same time.
If you are just starting out, then the Basic Shopify plan at $29 per month is more than enough for any online business and don’t forget you will get 24/7 customer service via live chat, phone and email if there are any problems that arise.
What Is Publish in Shopify?
How to reactivate Shopify store? You can control the web pages that are published to your online store using the Actions drop-down menu in Shopify. This lets you publish or unpublish many webpages at once, which is beneficial if you’re coming to Shopify from another ecommerce platform or website, or if you’re uploading a series of pre-written documents.
Publish

Here are 4 steps that you should know for Shopify publish:
- From your Shopify admin go to the online store then pages.
- Check the box next to each webpage that you want to publish.
- Click the Actions drop down menu then select Publish selected pages. You should now be able to view your web pages on your online store.
- Add a link to your new web pages in a menu so customers will be able to find them.
Related: 3 Steps on How to Sell Services on Shopify Effectively
Unpublish
Here are 4 steps that you should know for how to unpublish Shopify store:
- From your Shopify admin, go to the online store then pages.
- Check the box next to each webpage that you want to unpublish from your online store.
- Click the actions drop down menu then select unpublish selected pages.
- Remove links to your web pages from menus.
How to Set Up Shopify Store Before Launching?
How to create store on Shopify? Setting up a Shopify store is quite easy and straightforward, you can get them all done in less than an hour and that is going at a slow speed to check out everything. So here are some steps to set up your Shopify before launching:
Making a Name

Before making a store, you need a unique name or Shopify would ask you to choose something else. But don’t worry, it is not that hard to create a name that no one else has used yet.
In fact, Shopify can help you with a free tool called Business name generator. Just enter a word that you want your business name to have and you will have a list of 100 names that contain the desired word. These names are all available to purchase and create a new store with Shopify right the way.
Signing Up an Account

How to create a Shopify account? Now, visit Shopify and use the signup form to create your own account. A few details would be required such as your store name, your email address, and a password. You will also be asked for your name, country, address and contact number.
Another section that you will need to answer is when you are asked if you have products and what you aim to sell. If your intention is just trying out Shopify to see if it can work for you, select “i’m just playing around” in the dropdown called “do you have products?” and in the “what will you sell” option, select “i’m not sure”.
Once you have completed all of those steps, click “i’m done”.
Choose a Theme

After you’ve signed up, you will be taken straight to your store admin interface. Now you are ready to start customizing your store, setting up payments, uploading products and shipping to customers.
But don’t forget, you need a front end that your visitors can interact with and browse your list of products and you can do this by choosing a theme on the Shopify theme store. All these themes are available to have full support from the designers and Shopify themselves so your store can run smoothly.
That is not all, all themes on the store have a comprehensive list of modifications that you can change your theme to match your need without having to touch a line of code. The premium themes even have more modifications but if you are just starting out, a free one is great looking as well.
Settings For The Store

All Shopify themes have options to make simple changes that can massively affect the appearance of your store, so don’t worry that you will end up with a website that looks like a clone of any other store.
At the theme library tab in the above image, you can see all the actions that you can make with a theme. You can preview, publish or rename the theme. Then you can make a duplicate of it so when you make some changes that you don’t like, you can always go back to the original version and start again.
Add Products

Last but not least, you need to add some products to your store before going live. At your store dashboard page select Products. There you will find an add product button in the middle of the page or in the upper right corner when you’ve uploaded some products.
How Do I Make My Shopify Store Live?
How to make Shopify store live? You’ve spent quite some time and effort setting up a Shopify store that you can be proud of, importing all the products and writing all the necessary legal documents. Now, it is time to finish it up and publish your Shopify store.
Steps to Launch or Publish Your Shopify Store
How to make your Shopify store visible? Here are the six steps that you need to easily launch your online business with Shopify:
Create and Add a Domain Name
To get your Shopify launch, you need to choose a domain name which is an online address that your customers can use to visit your business. Remember the step in which you chose the name for your store? Shopify can help you get a domain for the name as well and it will be added to your store automatically.
This is really time-saving if you don’t know anything about hosting a website. A domain typically costs $9-$14 USD per year and since Shopify takes care of the hosting, you won’t have to deal with any third-party company to keep your site running smoothly.
To add a new domain, head to Online Store in the left navigation. Then click on Domains and you can add your domain name using the Add an existing domain feature.
Update DNS Records

Now if you use a third-party domain provider, you will have to update your DNS records. DNS is a Domain Name System which is a system that points a domain name to a specific physical IP address. You need to change this because your hosting provider and domain provider are different.
Now, login to your domain and make all the following changes to the DNS records:
- Change the @ or main A record into the following IP address: 23.227.38.32.
- Add or change the www CNAME into your Shopify store link without the HTTP: storename.myShopify.com. You can see this on the domains setting page.
Remove Any Storefront Passwords
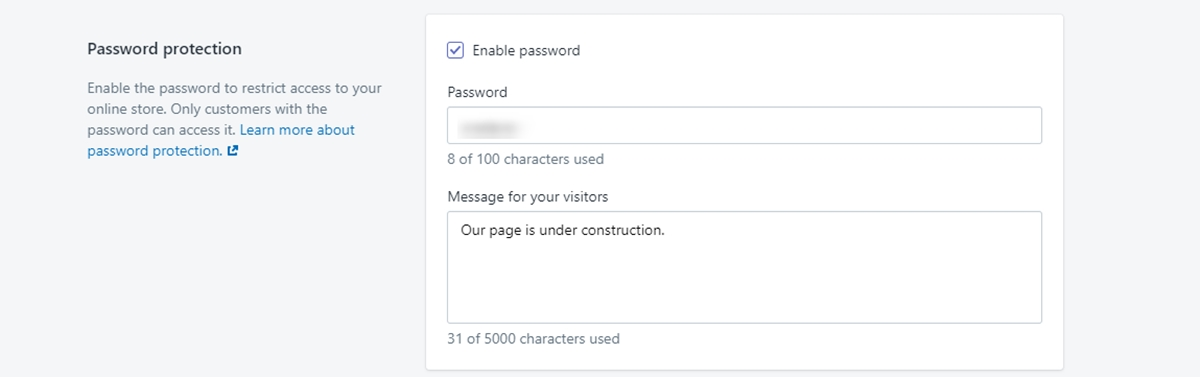
How to password protect Shopify store? If your store theme is password protected by Shopify, make sure the password is disabled before you launch. Funny as it may seem, you’d be surprised to see how easy people forget about this.
Since you are the store administrator, it is even easier to overlook this because you can access your Shopify store as long as you have logged in. Even if you don’t recall having this feature turned on, it is still worth a few minutes double-checking.
You can access this option in the Online Store tab and click on Preferences. Then scroll down to the Password protection and uncheck the Enable password box.
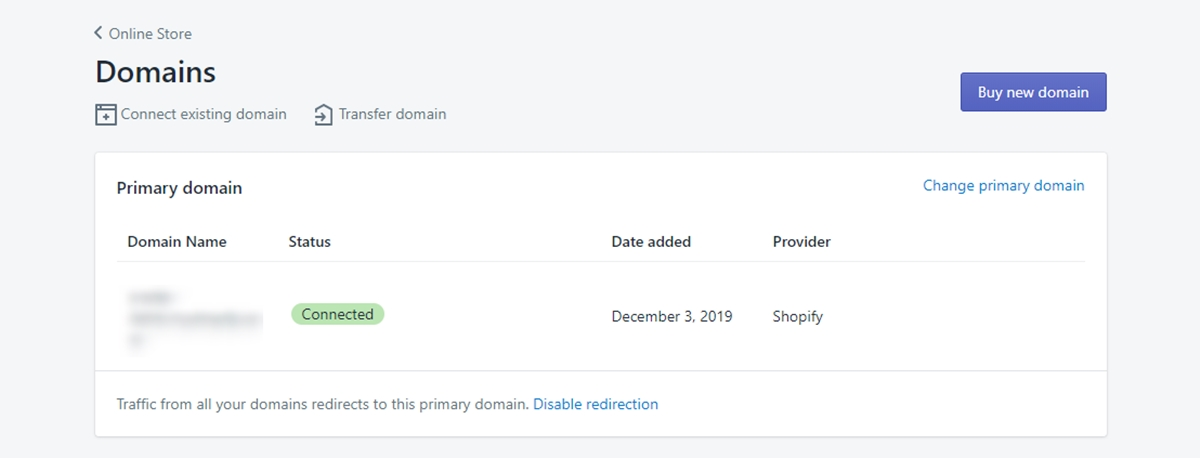
Set Primary Domain

At first when you set up your store, you get a default subdomain under the myShopify.com domain name. Technically, you can still run your site under this address, your store would look much more professional if it has a custom domain name. And there are some SEO benefits as well.
Shopify lets you register a domain within the control panel for reasonable prices. It is easy to do so too, you can access these settings in the Domains section under the Online Store menu. If you have more than two domains, you can set a primary one.
Your Selling Stock is Messing Up? You Need Help!
Ginee Omnichannel allow you to automatically sync every stock from all of your online stores. It’s faster way to helps you profit!
The important part of this step is making sure that you have enabled the Redirect all traffic to the primary domain feature. This option allows the search engine to know exactly the correct web address that your Shopify store is located and prevents any additional confusion.
Adding Other Domains If Needed

You can repeat steps 1 and 2 with any other domains that you wish to. All domain names will automatically redirect to the primary domain. You can change this setting at any time with the option to Set as primary next to each domain name.
For example, if you want your store to be unique, you purchase all the domains of your Shopify store name with different endings like .biz, .org, .me. Then you can select each of these as your primary domain any time you feel like to.
Your Store is Live!

If you manage to go through all the steps above, then good job for make Shopify store live! You now should have a fully functional and working online store on Shopify. You still can configure any aspects of your store through the admin backend dashboard, so don’t worry if there is anything that you haven’t been satisfied with.
Tips When Launching a Shopify Store
You are probably quite eager to start running your store already, but be patient and do some double check before you launch to make sure things will run smoothly and these are the tips that you should not overlook when launch Shopify store:
Check Your Title and Meta Tags
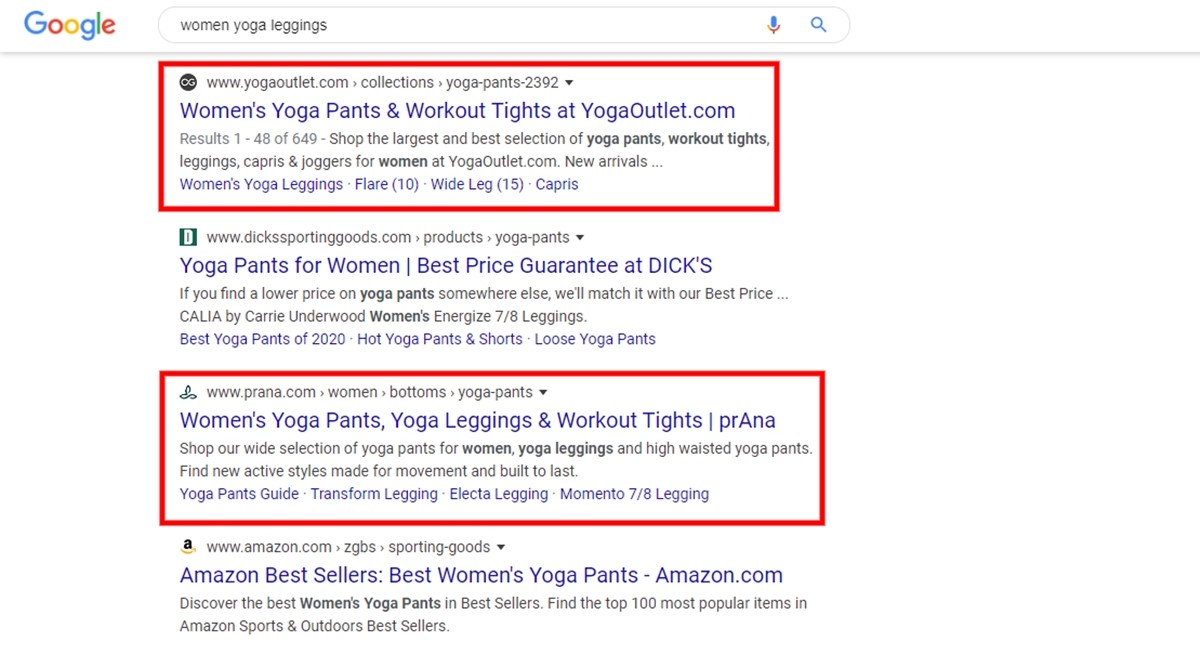
By default, Shopify will automatically fill in the meta description tags and titles based on your product description and product names. But given how these tags can affect search engine optimization, you should give them a little extra attention.
A good title tag should accurately describe the content of the page that it represents whether it’s a product, informational or promotion page. It is also important to find ways that you can naturally weave in relevant keywords whenever possible.
Your title tag is the first thing that a searcher reads on the search result page so spend some time crafting the best phrases possible.
Place a Test Order

By placing a test order, you can be reassured that your settings for the working process of your store are working correctly. You do this by simulating a transaction using Shopify’s Bogus Gateway for testing.
This is a free process, however remember to cancel and refund the order just as you have placed it. This is to prevent the transaction fees from appearing on your bill.
Check Notification and Email Address

Before going live, recheck if you can properly receive notifications when your customers place orders on your Shopify store.
To access the notification settings, go to Settings and then select Notifications. Here, you can verify the correct email address through the Order Notifications section. You can also adjust other notification settings like shipping, delivery, customer and staff order notifications.
Get Email Sign Up Forms Ready

Since the signup forms look completely normal even if you have not configured them properly, it is easy to overlook these settings. You won’t want to lose the opportunity to collect email addresses from visitors or customers especially when you can increase a massive amount of traffic to your site using emails.
To adjust the email signup forms settings, first select Online Store from the main admin dashboard. Then select Themes and click on the Customize theme button. Here you can find the email list settings under the footer panel.
Daily Check

Technically, you don’t have to do this daily. But at least, do it before you launch your store. Here are a few things that you should check before launching your store:
- Check all links across the site, make sure they are working and there are no 404s. You can use Broken Link Check to scan your whole store.
- Do a final content check for any missing images or copy errors. Make sure your site is having the best first impression.
- Set up all the active coupons or any promotion launch codes that you have created. If you have an old store then make sure the old coupons or codes can be used too.
Congratulations! Your Shopify Store is Published!

That is all, now hit the publish button to launch your Shopify store and it is ready to go live and start connecting with the world. But this is just the start and you have the whole journey ahead to make sales or take care of your customers.
Conclusion
By focusing on only one product, you can emphasize all the details that make it special. Without distractions from many different products like general stores, you can increase your marketing content, customer service, product quality and make you an expert in the market that you pursue.
Ginee Philippines: Set up Shopify Store
Maybe, setting up your store in Shopify is easy, but then you will need Ginee Philippines to handle your online stores and boost your sales! Ginee Philippines is an Omnichannel that is able to help to handle your stores such as uploading products, updating stocks, promotions, orders, responding to chats, managing ads, and more. Register to Ginee Philippines now and enjoy all features of Ginee freely!
Upload Products to Shopee and Lazada Automatically! How?
Ginee product management allow you upload products to all of your online stores from all marketplace just once! Save time, save cost, save energy, join Ginee Now!