Ginee
Ginee
 25-6-2021
Please confirm the following information first when reviewing the specific operation steps
- When you need to use the JD fulfillment warehouse, please confirm with your Ginee exclusive customer service that your account has the master product and warehouse management authority or you can use the menu whether there is “product-master product” and “” in the system, then confirm
- Please be sure to confirm that the expiration date information has been set in the product when operating the master product into the JD warehouse. By default, all products have no expiration date. If the current product is has an expiration date, please move to the master product and edit it, and the expiration date must be set with the number of days in the validity period and the threshold information of in and out of the warehouse
If you have a new product that you want to place in the JD warehouse for fulfillment, the current Ginee product storage method supports the following 3 methods;
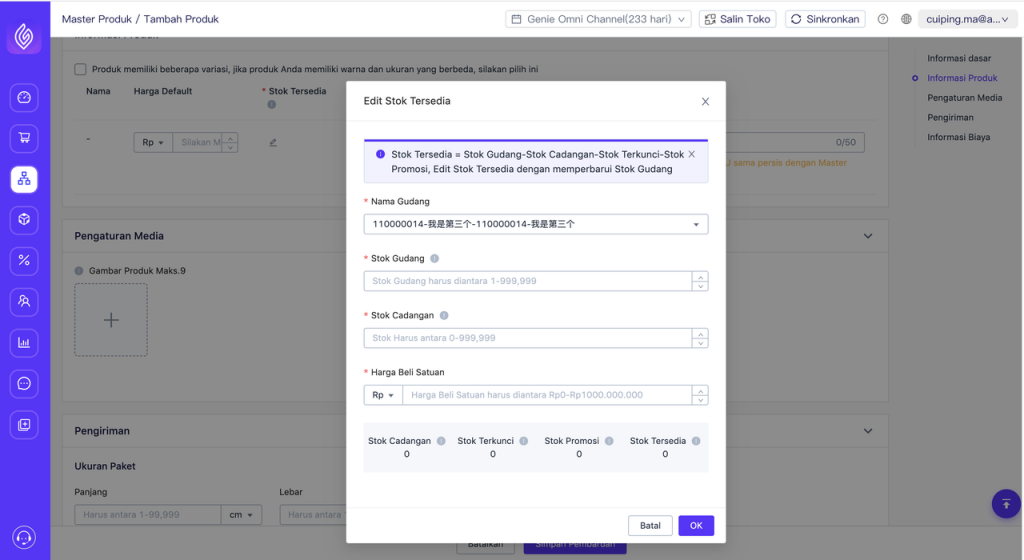
Method 1: Put the master product into the warehouse when the master product is added
On the master product management page, click to create the mater product and select the corresponding JD warehouse, then the product application can be placed in the JD warehouse for management
Note: Use this method to add stock to the JD warehouse, please move to the inventory management to check the push and stock status
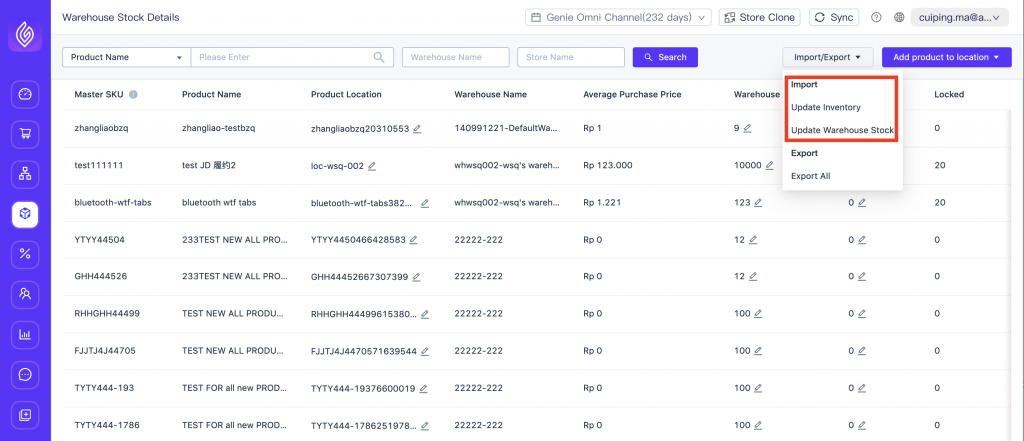
Method 2: Import Inbound
On the inventory management and warehouse stock details page, increase the existing master product stock to the JD warehouse by update the stock or update warehouse stock
Method 3: Manually Add Inbound List
Only 3 steps, you can directly add product to the warehouse individually or in multiple location
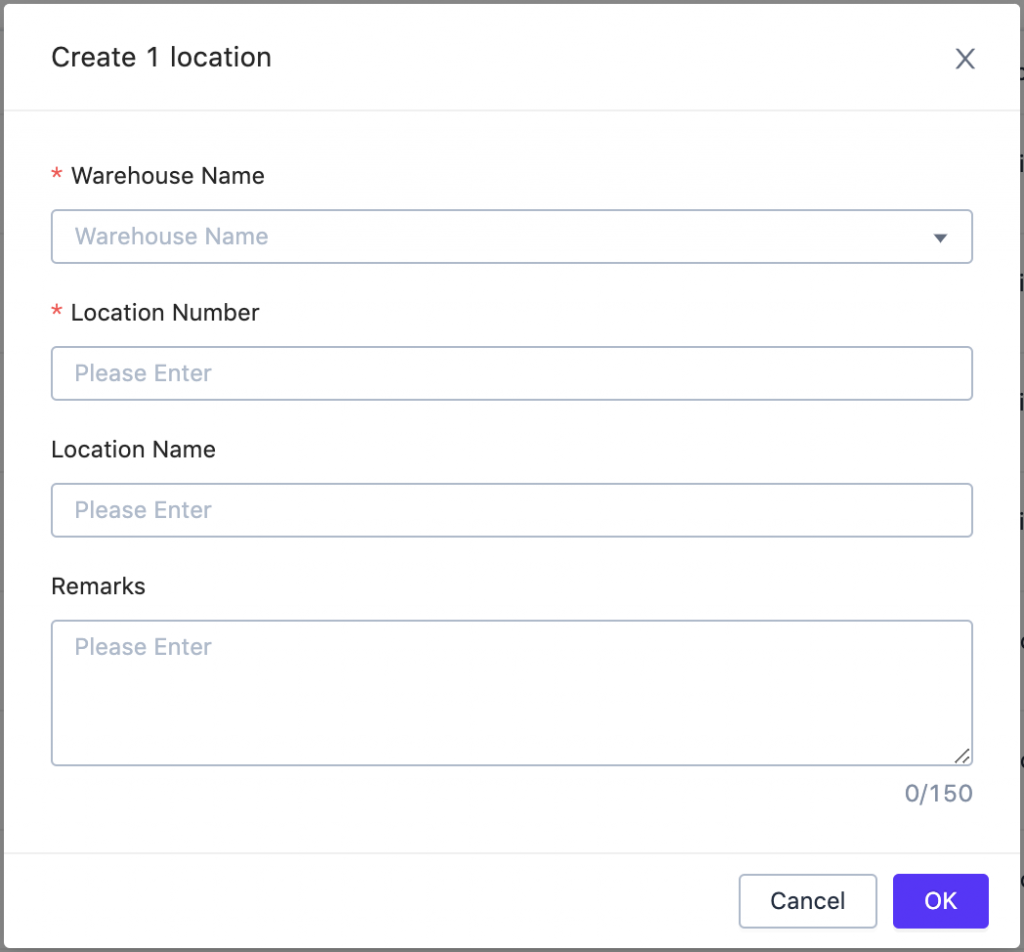
First step: On the product location management page, click “Create Location”, you can choose to create a cargo location for the JD warehouse individually or in multiple locations, which is used to mark the storage of product
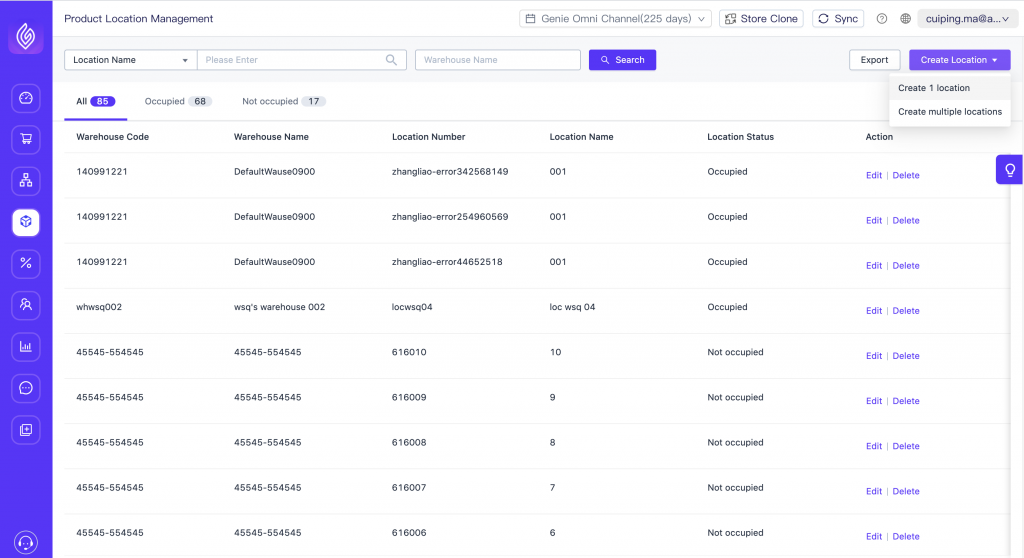
a. Click Create 1 Location, and after selecting the warehouse in the window below, enter the shelf number to complete the shelf creation (because the JD warehouse does not have shelf information, the shelf created here is a virtual shelf, just to facilitate you to quickly complete the storage)
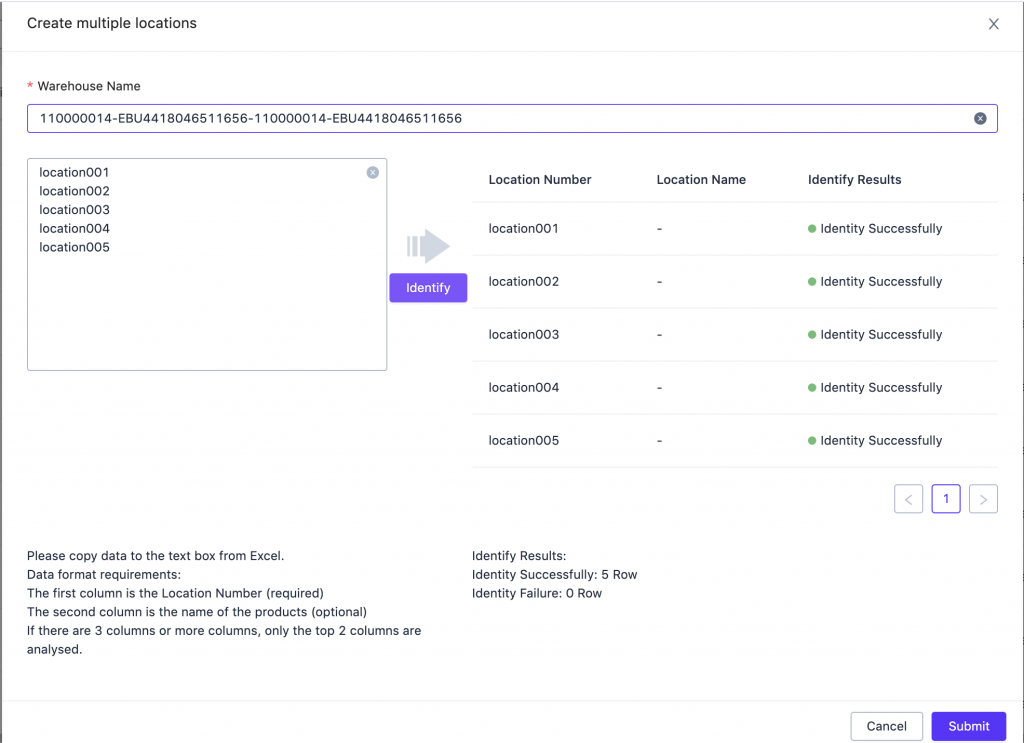
b. Click “Create Multiple Location”, select warehouses in the following window, enter multiple shelf IDs in batches, and then express to complete the creation of multiple shelves for storage of product information
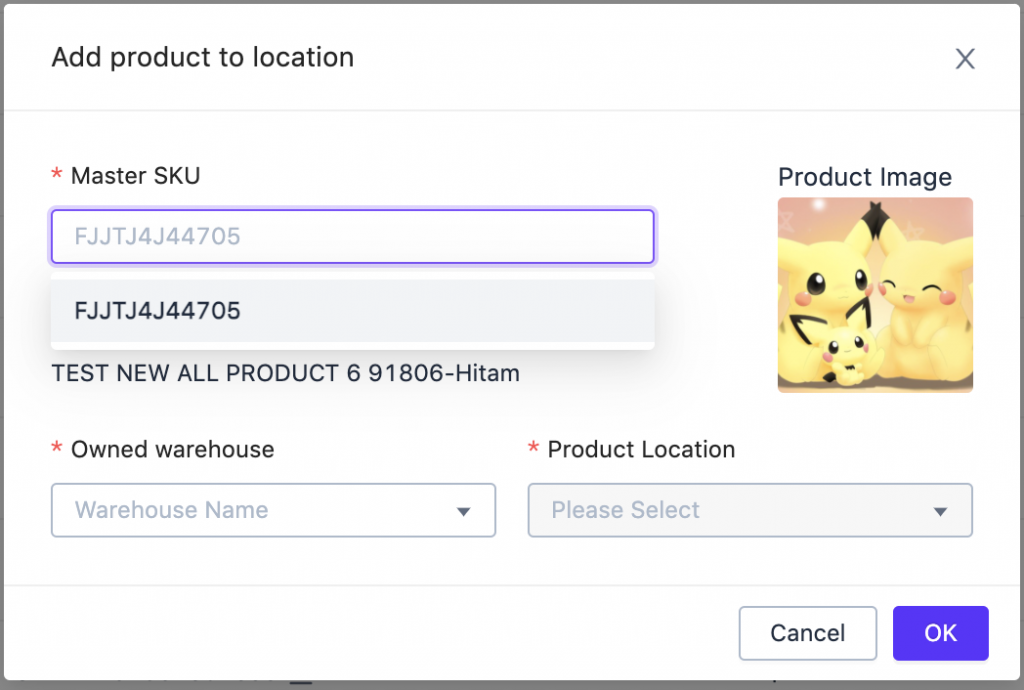
Second Step: Establish an association relationship between the product and the storage location by adding the product to the storage location on the warehouse stock details page
PS: Please be sure to create a space for the JD warehouse and use it, and a space can only be bound to one master SKU information
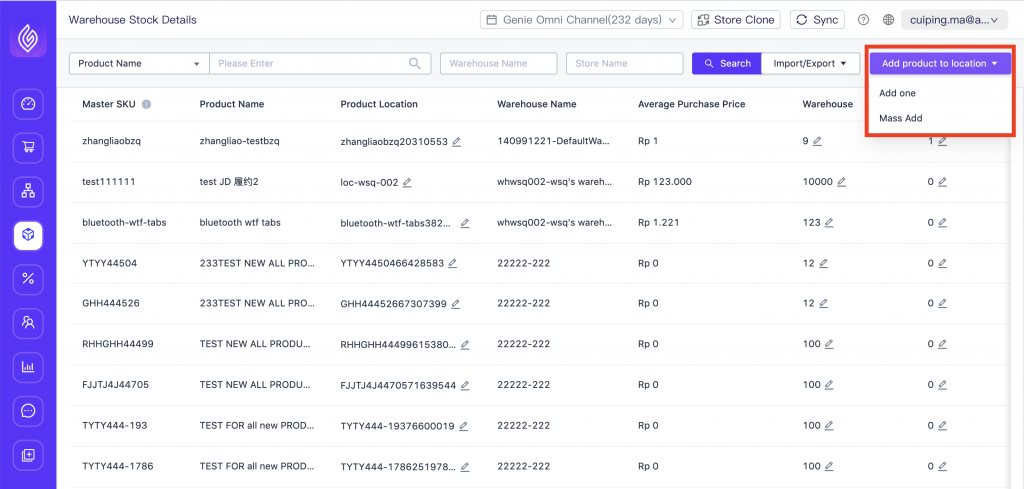
a. For the relationship between a single newly added master SKU and a cargo location, the system will automatically filter for you the cargo locations that have been bound to the main SKU
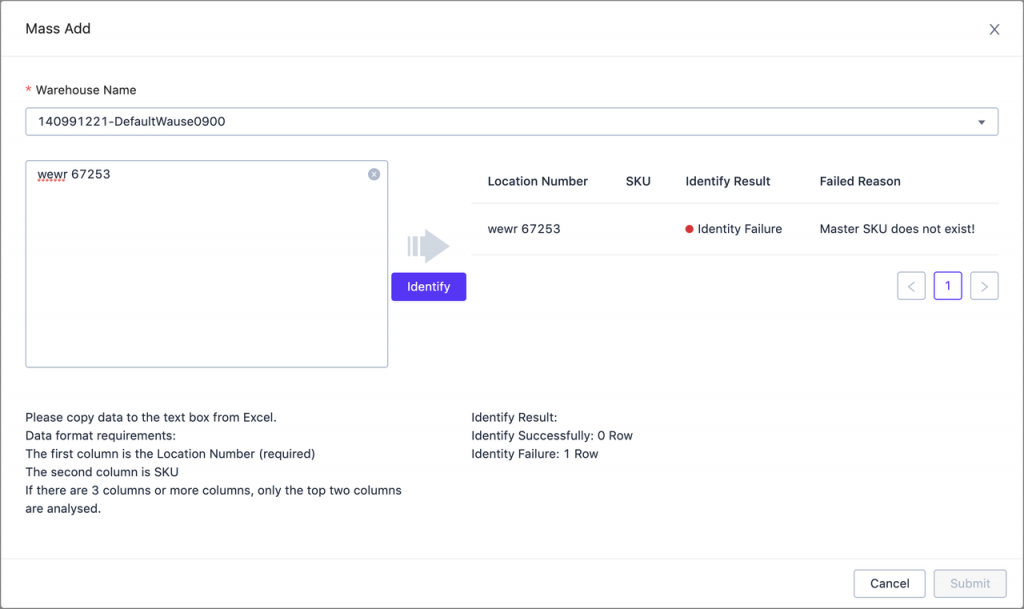
b. The relationship between the new master SKU and the product location in mass After selecting the warehouse, you can enter the location and master SKU information in the left input box, and then click Generate, which will automatically associate the master SKU with the location for you
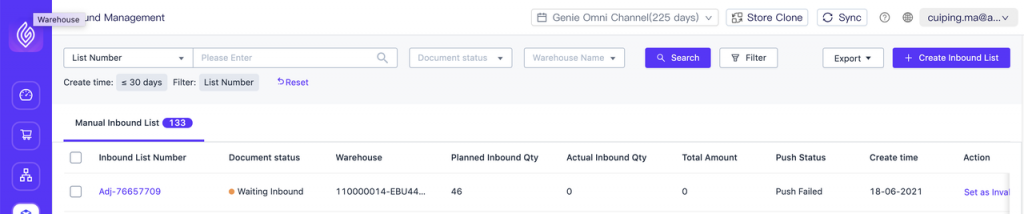
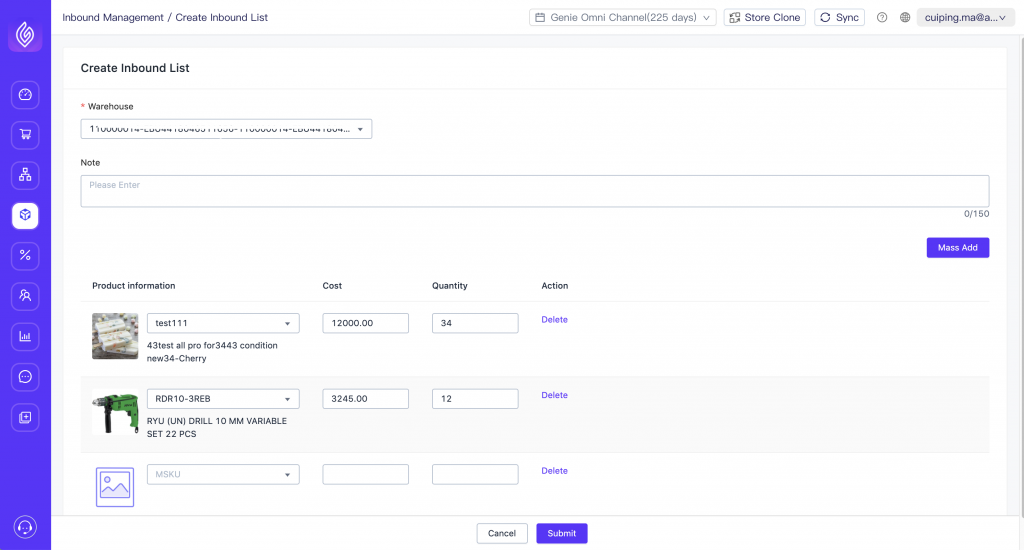
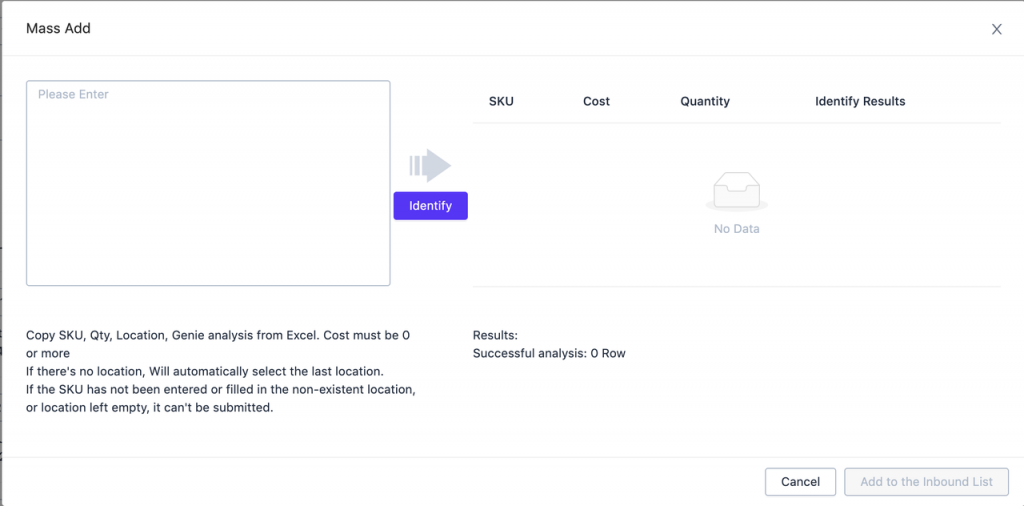
Third Step: On the Inbound Management page, click “Create Inbound List”, and after selecting the JD warehouse number, you can add product information individually or mass add. After adding and setting the product value, you can add the product to the Inbound list;
PS: Only the product that has been placed in the warehouse shelf can be selected
After finished adding, you can view the inbound order information on the Inbound Order Management list, and get the status of the order receipt