Ginee
Ginee
 13-12-2021
System will set a default shelf for each warehouse. The default shelf cannot be deleted or modified. If product is placed in the default shelf, the shelf code does not need to be filled in when the stock is maintained by import table.
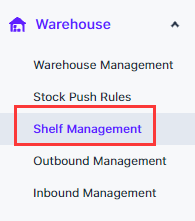
How to Create 1 Shelf
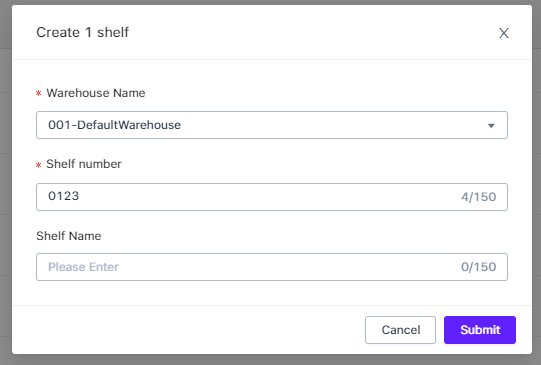
On the shelf management page, click Create shelf > Create 1 shelf, select the warehouse where the shelf is located, shelf number, and shelf name (optional). After submit, you can complete shelf creation.
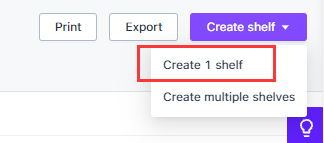
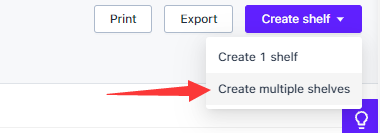
Create Multiple Shelves in Batch
1) On the shelf management page, click Create shelf > Create multiple shelves.
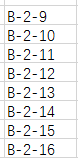
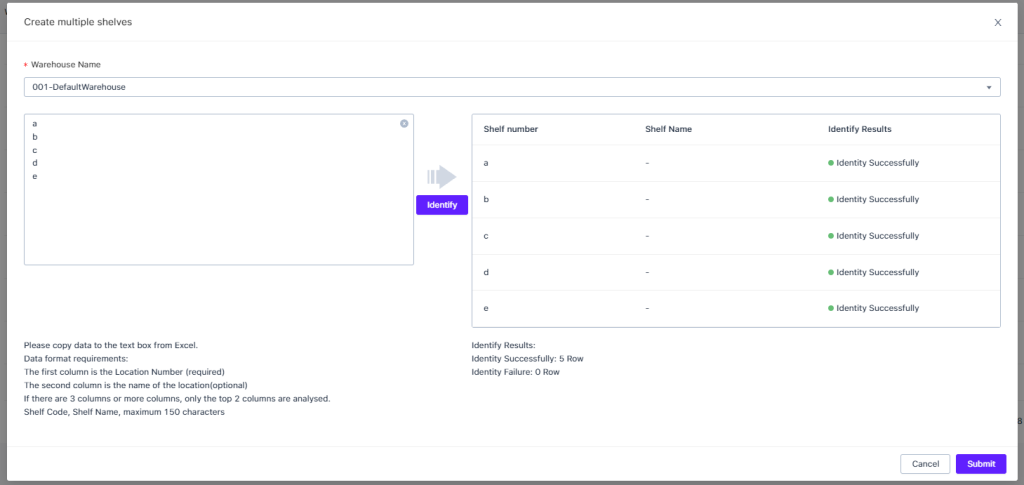
2) Select the warehouse, copy the shelf number and shelf name from excel (shelf name may not be copied) into the window, click identify and submit to complete the creation. For Shelf number and name, the maximum length is 150 characters, if it exceeds 150 characters, it will not be created.
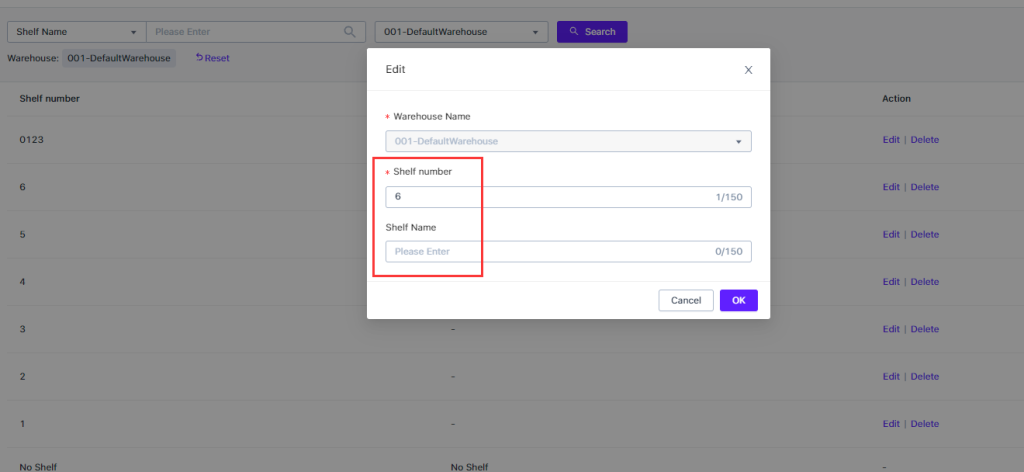
How to Modify Shelf Number and Shelf Name
In shelf management > shelf list, click the “Edit” button on the right to modify Shelf number and Shelf name in the edit window.
How to Delete Shelf
In the shelf management > shelf list, click the “Delete” button on the right to delete shelf. If the shelf has been bound to any products, or the shelf has unfinished outbound orders and inbound orders, it cannot be deleted.
How to Export Shelves
At the upper right of the shelf management page, click “Export” button to export all shelf information in the shelf list (all search results) on the page.
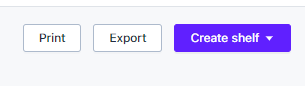
How to Print Shelves
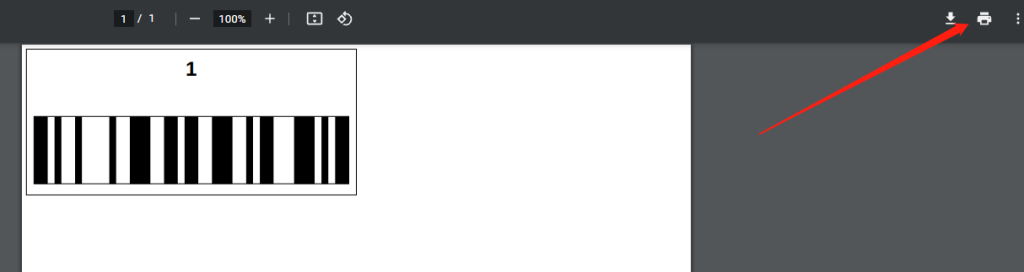
1) At the top right of the shelf management page, click “Print” button.

2) In the window, select warehouse, enter shelf number, click identify, the system will verify whether the shelf number exists in the selected warehouse, if it does not exist, the analysis will failed.
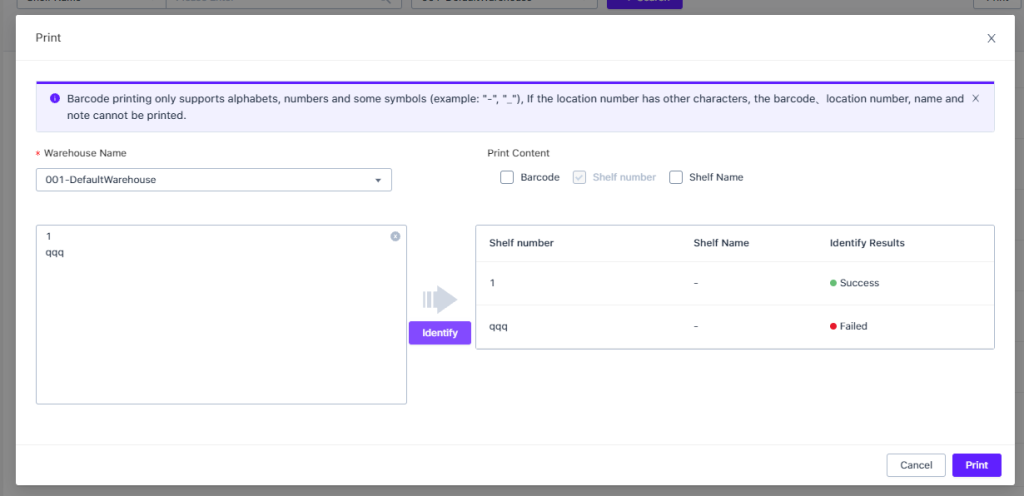
3) Select content which need to be printed, shelf number (must be filled), barcode and shelf name
4) Click Print to generate a pdf file, and print the pdf file