


 Ginee
Ginee
 20-8-2021
You can now set up the Shopee Logistics Template to avoid inputting this every time you clone or publish a new product.
Below are the steps:
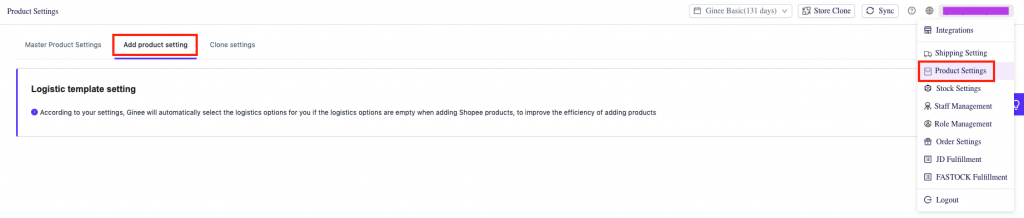
Step 1: Go to Settings dropdown > Product Settings > Add Product Settings > Logistic Template Setting > Set Now

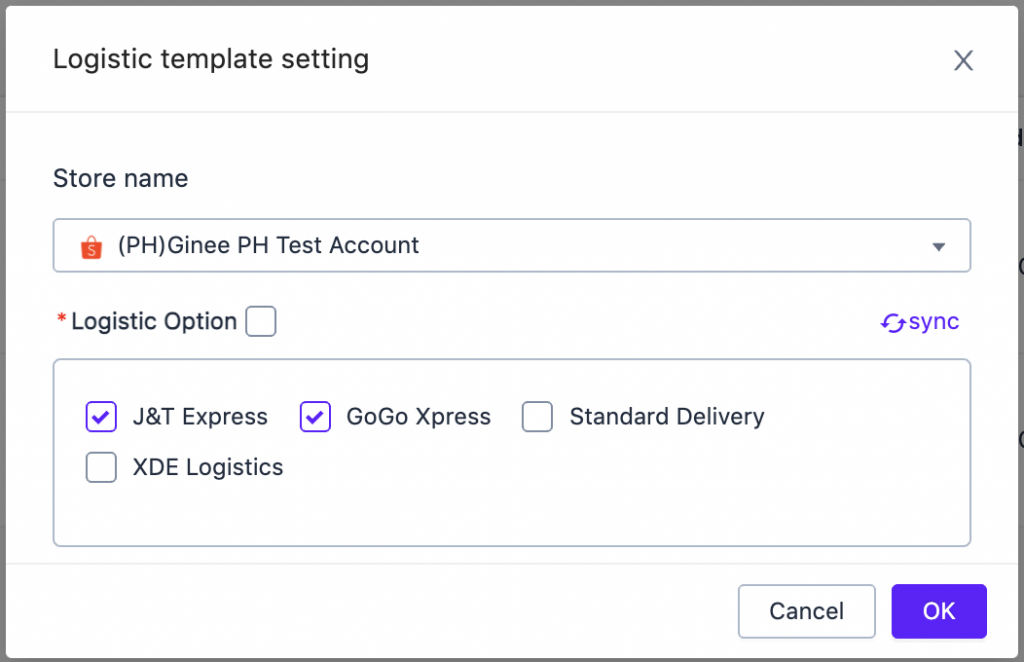
Step 2: Add a Logistics Template
- Click on + Add Template
- Choose the Shopee Store you want to update
- Choose the Logistic Providers / Couriers you want to enable
You can also edit or delete the logistics template.
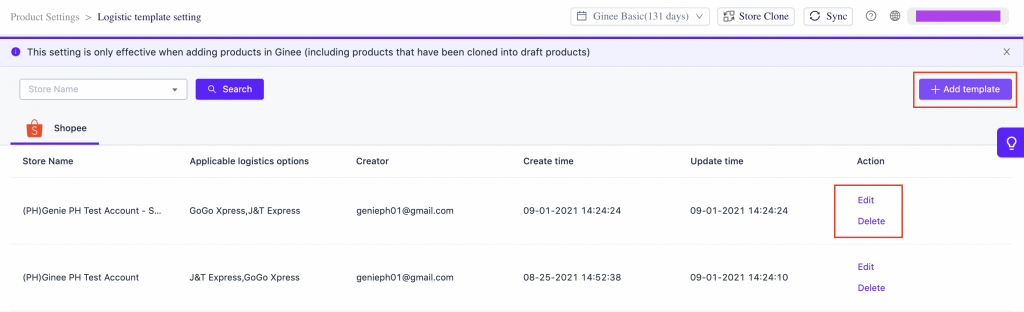
After setting the logistics template, the logistics information will automatically be filled in when creating a new product on the Shopee store you have set the template for.
For cloning, if the original store does not have a specific courier turned on but this courier is turned on in the store you are copying it to, the courier will be enabled for that product.
Example:
Cloning Product A from Store 1 to Store 2.
Store 1: Courier turned on: Shopee Express
Store 2: Couriers turned on: Shopee Express and J&T
Product A when copied to Store 2 will have both Shopee Express and J&T.


